HOWTO: Employing Minecraft Players as 3D Artists
-
Step 1: Get a Minecraft Community.
Luckily we at Banana4Life also have a small Minecraft community called Cube Island (German), which was eager to help out!
-
Step 2: Setup a Minecraft Server with a flat world.
Simply download the official Minecraft Java server and set the following values in the
server.propertiesfile:level-type=flat gamemode=creative -
Step 3: Unleash your ~~minions~~ creative team.
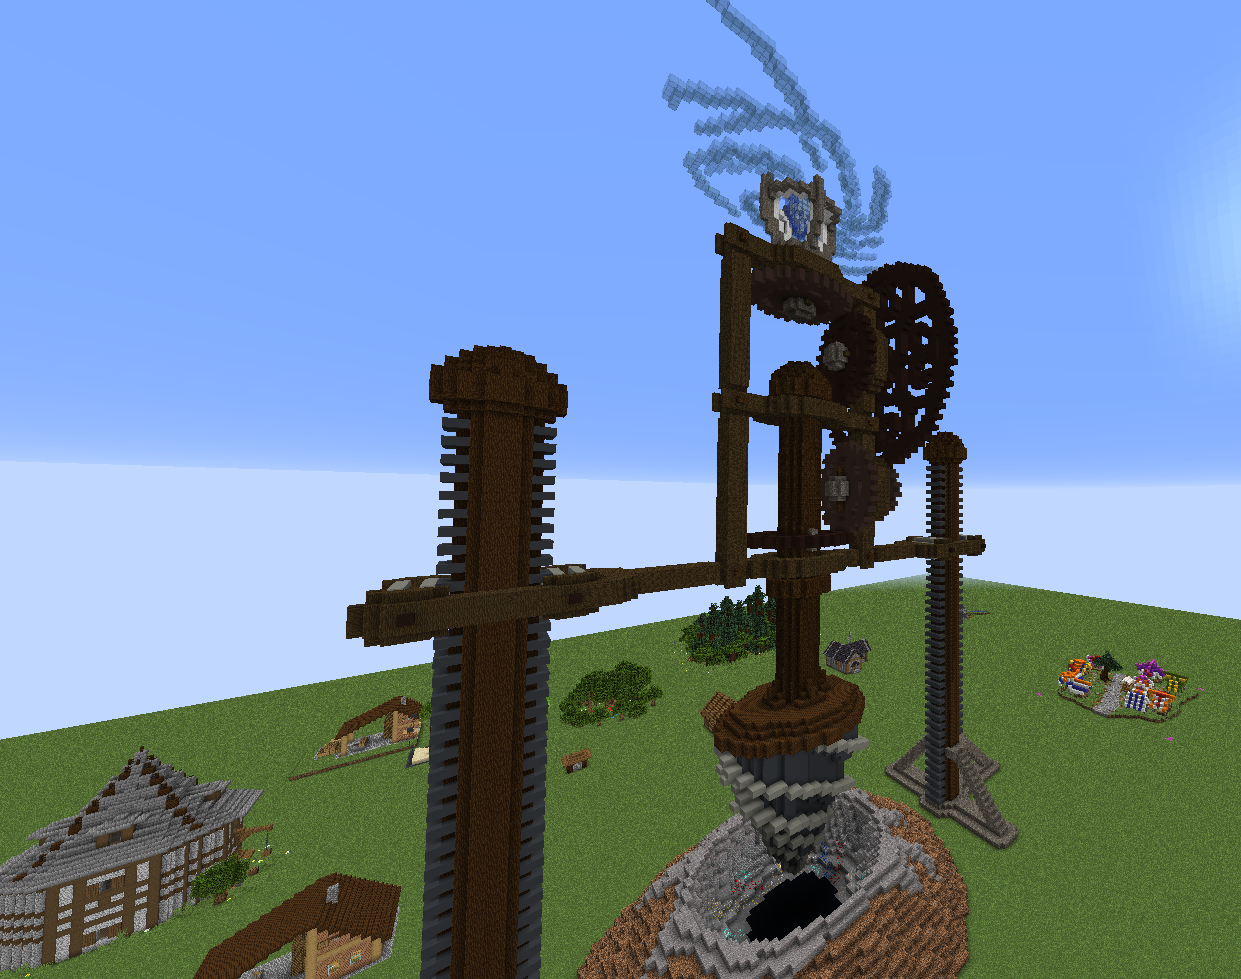
We placed a wall with the models we needed for the game, basically like a little kanban board.
-
Step 4: Get yourself a tool to export parts of a Minecraft world as 3D models.
We used jMc2Obj which produces models in the Wavefront (.obj + .mtl files) format. The released version has a few issues with backface culling (Unity kind of requires it), so we fixed that. If you plan on using the textures from the export directly, make sure you use a texturepack you are allowed to redistribute. This is not the case for Minecraft's official texturepack. We were lucky again as a community member built their own texturepack. Alternatively you can also just use random blocks and skin them however you want in post-processing. Colored concrete blocks might come in handy here.
If you plan on animating parts of the model, make sure the builders keep the sub-models separated or tell your exporter to generate a separate object/mesh for each block.
-
Step 5: Import the created models either directly into your game engine or into a 3D modelling software for post-processing.
In Unity specifically we had to change a couple of settings on the textures and materials. Since we used a Minecraft-inspired texturepack we wanted to retain the blockyness of the texture and disabled texture filtering and enabled transparency from alpha.
From your first model export, take the .mtl file and give it a generic name (we called it minecraft.mtl), since jMc2Obj generates a full material list (full as in it contains all Minecraft blocks) for each export.
Before importing the .obj file, open it in your text editor of choice (it's a simple text-based format, so any editor will work) and replace the first line starting with
mtllibbymtllib minecraft.mtl. This is important, so you can reuse the same materials for all objects later on, when you customize the material settings in Unity. When importing the .obj file into Unity, all materials will be embedded materials that cannot be changed. In order to change them, they have to be extracted using the "Extract Materials..." button on each model. The extraction will generate Unity material objects for each material used in that particular model, even if some already existed. You might want to delete the duplicates to avoid confusion later on (e.g. usingfind \( -regex '.* [0-9].mat' -o -regex '.* [0-9].mat.meta' \) -delete. This will also require you to remap the materials in the model using the "On Demand Remap" feature on the model. For naming you will need to select "From Model's Material" and you might have to play with the search option depending on where you placed your materials when extracting them.For the materials of non-cube blocks (e.g. plants, sugar cane, chains, ....) you might want to switch the material rendering mode to "Cutout" and for materials with transparency (all glass blocks, water, ...) you should use mode "Transparent".
-
Step 6: Profit
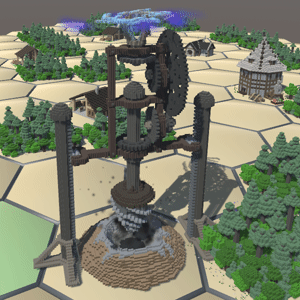
If you want to see these models in action have a look at Drillromantik, the entire sources including the textures, models and materials are all on Github.